
Popcorn ceilings, once a popular design choice, have become a concern for many homeowners due to the potential presence of asbestos. If you live in Tuscaloosa, AL, and are considering removing your popcorn ceiling, this comprehensive guide will walk you through the process safely and effectively. From understanding the risks to post-removal cleanup, we’ve got you covered.
Understanding Popcorn Ceilings and Asbestos Risks
What Are Popcorn Ceilings?
Popcorn ceilings, also known as acoustic ceilings, were widely used in homes built between the 1950s and 1980s. Their textured appearance was favored for its ability to hide imperfections and dampen sound. However, their popularity has waned due to aesthetic preferences and health concerns.
The Dangers of Asbestos in Popcorn Ceilings
Asbestos, a mineral once commonly used in construction, is known for its heat resistance and durability. Unfortunately, it poses serious health risks when its fibers become airborne and are inhaled. Popcorn ceilings installed before 1980 may contain asbestos, making it crucial to test for its presence before attempting removal.
Preparation for DIY Removal
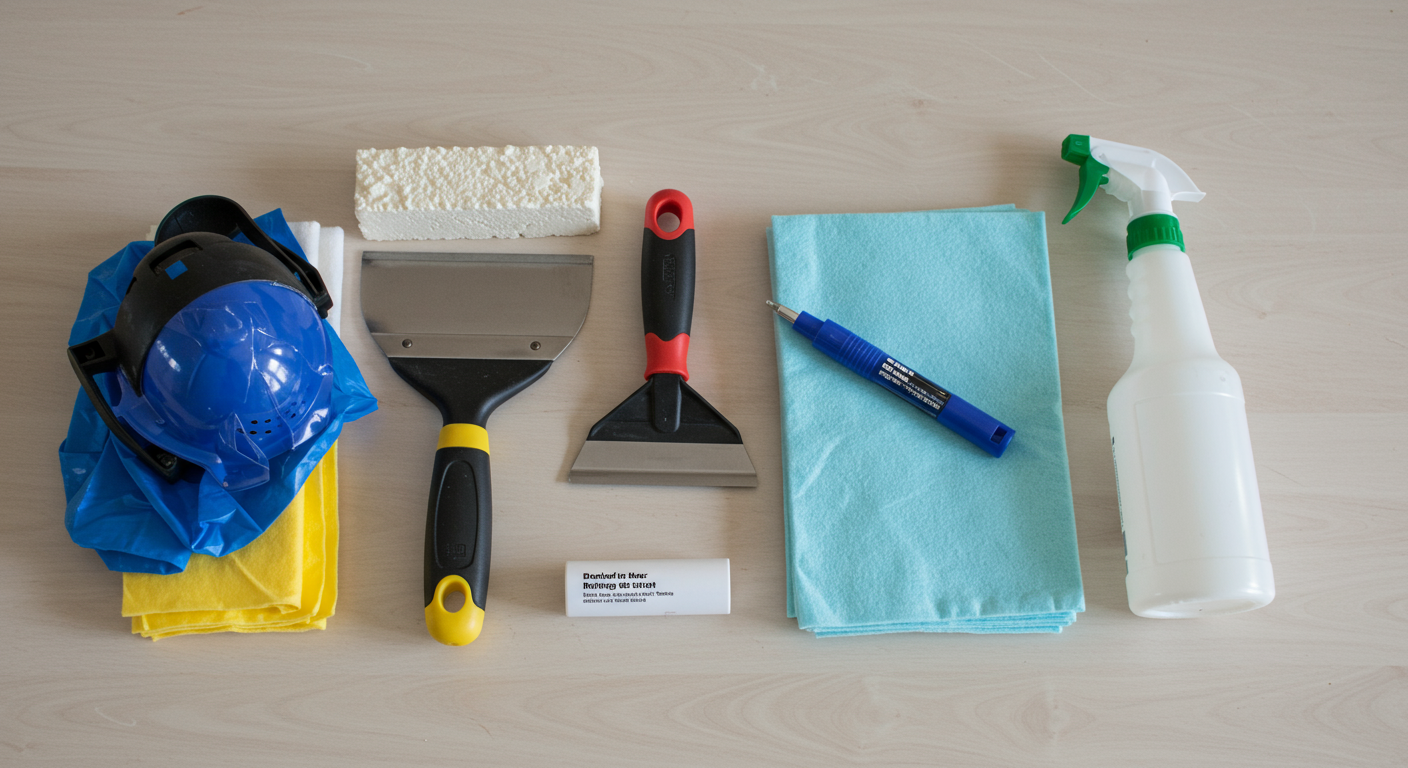
Essential Tools and Materials Needed
Before starting your DIY project, gather the necessary tools and materials. These include:
- A scraper or putty knife
- Drop cloths and plastic sheeting
- A spray bottle filled with water
- Safety goggles, gloves, and a respirator
- A ladder and protective clothing
Having the right tools ensures a smoother and safer removal process.
Safety Precautions: Gear Up for Asbestos Removal
Safety should be your top priority when dealing with asbestos. Wear protective gear, including a respirator rated for asbestos, to prevent inhalation of harmful fibers. Seal off the work area with plastic sheeting to contain debris, and ensure proper ventilation to minimize exposure.
Step-by-Step Process for DIY Removal
Step 1: Assessing the Ceiling for Asbestos
Before removing a popcorn ceiling, test it for asbestos. You can purchase a testing kit or hire a professional to collect samples. If asbestos is detected, consider consulting experts for safe removal. In Tuscaloosa, AL, there are services available to assist with asbestos testing and remediation.
Step 2: Preparing the Area for Safe Removal
Clear the room of furniture and cover floors with drop cloths. Use plastic sheeting to seal walls, vents, and doorways. This preparation minimizes cleanup and prevents asbestos fibers from spreading to other areas of your home.
Step 3: Removal Techniques and Tips
Begin by lightly misting the ceiling with water using a spray bottle. This helps loosen the texture and reduces dust. Use a scraper or putty knife to gently remove the popcorn texture, working in small sections. Be patient and avoid applying excessive force to prevent damage to the ceiling.
Post-Removal Considerations
Cleaning Up After Removal
Once the popcorn ceiling is removed, carefully collect and dispose of debris in sealed bags. Vacuum the area using a HEPA-filter vacuum cleaner to capture any remaining asbestos fibers. Thorough cleaning ensures a safe and healthy environment.
When to Call Professionals for Asbestos Testing and Removal
If you encounter challenges during the removal process or suspect widespread asbestos contamination, it’s best to seek professional help. Experts in Tuscaloosa, AL, can provide thorough testing and remediation services, ensuring your home is safe for occupancy.
For additional insights on maintaining a healthier home, explore mold remediation services in Huntsville, AL.
Final Thoughts: Take Action Today
Removing an asbestos popcorn ceiling can be a rewarding DIY project if done safely and correctly. By following this step-by-step guide, you can transform your home while protecting your health and the environment. If you’re unsure about any part of the process, don’t hesitate to consult professionals in Tuscaloosa, AL, for assistance.
Take the first step towards a safer, more modern home today!


